
Bed baths are a fundamental aspect of nursing care, providing hygiene and comfort for patients unable to bathe independently.
This procedure involves washing, rinsing, and drying each body part, prioritizing patient privacy, warmth, and safety throughout the process.
Effective bed baths contribute significantly to a patient’s well-being and overall care plan, as detailed in nursing guidelines and resources.
Purpose and Importance of Bed Baths
Bed baths serve multiple crucial purposes beyond simply maintaining cleanliness. They are vital for promoting patient comfort, preventing skin breakdown, and stimulating circulation, particularly for those with limited mobility.
A thorough bed bath assists in assessing the patient’s skin condition, identifying any potential issues like redness, lesions, or areas of concern that require further attention from the nursing staff.
Furthermore, the procedure offers a valuable opportunity for ongoing patient assessment; observing changes in mood, appetite, or overall condition during the bath can provide important clinical insights.
Providing a bed bath demonstrates respect for the patient’s dignity and promotes a sense of well-being, contributing to a positive nurse-patient relationship.
Effective hygiene practices, like those implemented during a bed bath, also minimize the risk of infection, safeguarding the patient’s health and recovery. Pain assessment before initiating the bath is also crucial for patient comfort.
Patient Privacy and Dignity
Maintaining patient privacy and dignity is paramount during a bed bath. Nurses must prioritize creating a safe and respectful environment throughout the entire procedure.
This includes ensuring adequate draping to expose only the area being washed, communicating clearly with the patient about each step, and allowing them as much control and participation as possible.
Respectful communication involves explaining the procedure beforehand, asking permission before touching, and addressing the patient by their preferred name.
It’s essential to be mindful of the patient’s emotional state and cultural sensitivities, adapting the approach accordingly to ensure their comfort and respect.
Minimizing exposure and maintaining a professional demeanor are crucial aspects of upholding patient dignity. A gentle and considerate approach fosters trust and promotes a positive care experience, contributing to overall well-being.

Preparation for a Bed Bath
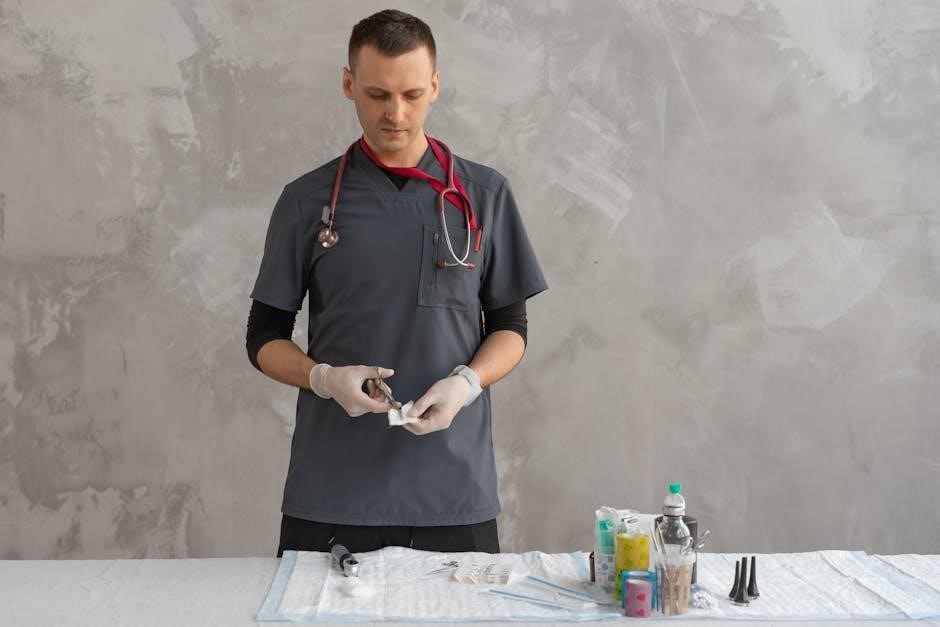
Prior to initiating a bed bath, nurses must gather all necessary supplies and bring them to the bedside for efficiency.
Ensuring patient safety and comfort is key during this preparatory phase of the nursing procedure.
Gathering Necessary Supplies
A comprehensive collection of items is crucial for a smooth and effective bed bath. Essential supplies include a basin with warm water, soap – often mild and pH-balanced to prevent skin irritation – several clean washcloths, a clean towel, and clean gloves.
Depending on the patient’s condition and facility protocols, additional items may be required. These can encompass disposable wipes, particularly Chlorhexidine Gluconate (CHG) wipes for specific bathing regimens, lotion to moisturize the skin post-bath, and a clean gown or clothing for the patient to wear afterward.
Furthermore, consider items for patient comfort and safety, such as a bath blanket to maintain warmth and modesty, and potentially a waterproof pad to protect the bed linens. Having all these supplies readily available before commencing the bath minimizes interruptions and ensures a dignified experience for the patient. Proper organization streamlines the process and promotes efficient nursing care.
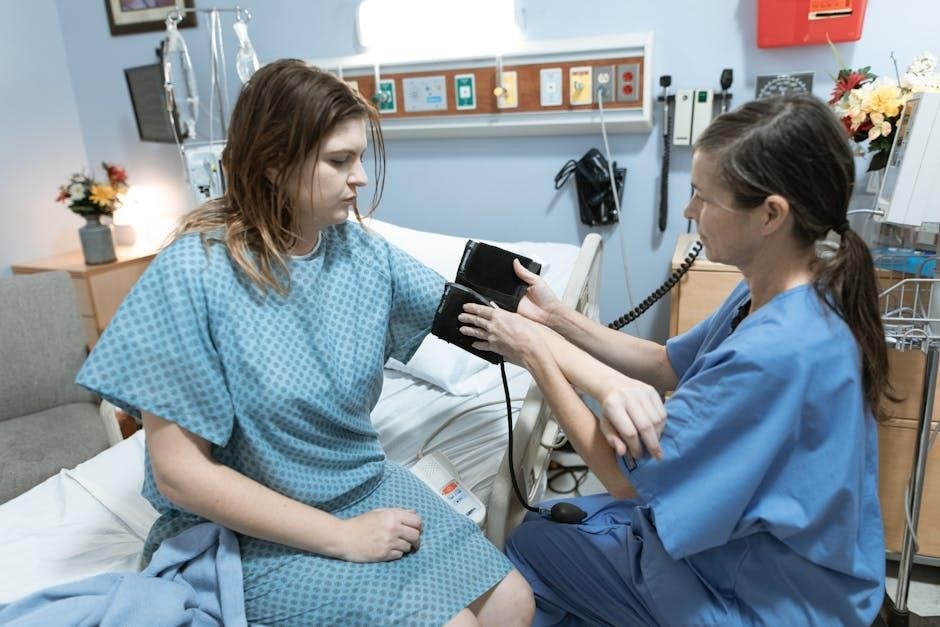
Ensuring Patient Safety and Comfort
Prioritizing patient well-being is paramount during a bed bath. Begin by explaining the procedure to the patient, fostering trust and reducing anxiety. Maintaining privacy is essential – utilize bath blankets and close curtains or doors. Assess the patient for pain before initiating the bath and administer analgesia if needed, allowing sufficient time for it to take effect.
The room temperature should be comfortable, and the water temperature carefully checked to avoid burns. Be mindful of the patient’s physical limitations and adjust positioning as necessary to prevent strain or discomfort.
Throughout the procedure, continuously observe the patient for any signs of distress, such as changes in breathing or facial expressions. Gentle handling and a reassuring demeanor contribute significantly to a positive experience. Always ensure the patient feels safe, respected, and in control throughout the bed bath process.
Pain Assessment and Management
Thorough pain assessment is crucial before commencing a bed bath. Directly ask the patient about any discomfort they are experiencing, noting its location, intensity, and character. Observe for non-verbal cues indicating pain, such as facial grimacing or guarding behaviors.
If pain is identified, administer prescribed analgesia before starting the bath, allowing adequate time for the medication to become effective. Document the pain level before and after medication administration.
Adjust the bed bath procedure to minimize discomfort; for example, avoid excessive movement of painful joints. Utilize gentle handling techniques and support limbs appropriately. Continuously reassess the patient’s pain level throughout the bath, and modify your approach as needed. Prioritize patient comfort and report any uncontrolled pain to the supervising nurse immediately.
Step-by-Step Bed Bath Procedure
A systematic approach ensures a complete and efficient bed bath, beginning with washing the face and head, then progressing down the body, maintaining patient comfort.
Washing the Face and Head
Begin by ensuring the patient is comfortable and draped appropriately to maintain privacy and warmth. Gently ask if they prefer to wash their own face, offering assistance as needed. If assisting, use a clean washcloth moistened with warm water – avoid excessive wetness.
Wash the face starting with the eyes, using a separate, clean corner of the washcloth for each eye, wiping from inner to outer canthus. This prevents cross-contamination. Then, proceed to wash the rest of the face, including the forehead, cheeks, and chin.
For the hair, assess its condition and the patient’s preference. If possible, assist the patient to shampoo their own hair. Otherwise, cover their eyes with a washcloth and gently shampoo and rinse the hair, ensuring all soap is removed. Dry the hair thoroughly to prevent chilling.
Throughout this process, continuously observe the patient for any signs of discomfort or distress, and adjust your technique accordingly. Remember to maintain a respectful and gentle approach.
Washing the Arms and Hands
Begin by exposing one arm at a time, ensuring the rest of the patient remains comfortably draped. Explain each step to the patient, promoting a sense of control and reducing anxiety. Use a clean washcloth and warm water to wash the arm, starting with the shoulder and moving down to the hand.
Pay particular attention to the axilla, ensuring thorough cleaning while respecting the patient’s privacy. When washing the hand, gently cleanse between each finger, and check for any signs of skin breakdown or infection. Offer the patient the opportunity to wash their own hands if they are able.
Rinse thoroughly with clean water and pat dry with a clean towel. Repeat the process for the other arm. Observe the skin for any redness, swelling, or lesions, and report any concerns to the supervising nurse.
Remember to maintain a gentle touch and communicate effectively throughout the procedure, ensuring the patient’s comfort and dignity.
Washing the Chest and Abdomen
To wash the chest and abdomen, carefully expose only the area being cleaned, maintaining the patient’s dignity with appropriate draping. Use a washcloth with warm water and mild soap, if indicated, to gently cleanse the skin.
Pay attention to skin folds and areas under the breasts, ensuring thorough cleaning to prevent skin breakdown. Observe for any signs of redness, irritation, or lesions, documenting any findings. When washing the abdomen, use a circular motion, avoiding any areas of tenderness or surgical incisions.
Rinse thoroughly with clean water, removing all soap residue. Pat the skin dry with a clean towel, ensuring complete dryness to prevent discomfort. Communicate with the patient throughout the process, explaining each step and addressing any concerns.
Always prioritize patient comfort and privacy, and report any unusual observations to the supervising nurse.
Washing the Legs and Feet
When washing the legs and feet, expose one leg at a time, ensuring the patient remains warm and comfortable with appropriate draping. Use a washcloth with warm water and mild soap to gently cleanse the leg, starting from the ankle and moving upwards towards the thigh.
Pay close attention to the feet, washing between the toes thoroughly to prevent fungal infections. Inspect the feet for any signs of breakdown, blisters, or edema, documenting any abnormalities. Rinse thoroughly with clean water, removing all soap residue.
Dry the legs and feet completely, paying particular attention to the areas between the toes. Offer lotion if appropriate, avoiding application between the toes. Repeat the process for the other leg, ensuring consistent care.
Always communicate with the patient and report any concerns to the nurse.

Special Considerations
Certain patients require modified bed bath techniques, including those needing Chlorhexidine Gluconate (CHG) baths or waterless options, and those with limited mobility.
Using Chlorhexidine Gluconate (CHG) Baths
Chlorhexidine Gluconate (CHG) baths are utilized to reduce the bacterial load on the skin, particularly for patients at high risk of infection. Before initiating a CHG bath, it’s crucial to meticulously clean any incontinence or visible soiling using CHG-compatible wipes or cloths dampened with water.
Importantly, avoid using regular soap during a CHG bath, as it can deactivate the antiseptic properties of the chlorhexidine gluconate, diminishing its effectiveness. The CHG solution is typically applied using washcloths, working from clean areas to soiled areas, ensuring complete coverage of the skin.
Allow sufficient contact time for the CHG to exert its antimicrobial action, and avoid rinsing it off unless specifically indicated by facility protocol. Proper technique and adherence to guidelines are essential to maximize the benefits of CHG bathing while minimizing potential skin irritation or adverse effects.
Always refer to current best practices and facility policies regarding CHG bath procedures for comprehensive guidance.
Waterless Bathing Options
Waterless bathing presents a viable alternative to traditional bed baths, particularly for patients who are unable to tolerate or benefit from a full wash. Switching to waterless bathing, utilizing pre-moistened wipes, offers enhanced patient choice and a more individualized hygiene experience.
These options are especially beneficial for individuals confined to bed, reducing the physical exertion required for nursing staff and promoting patient comfort. Disposable wipes simplify the bathing process, minimizing the need for extensive equipment and water handling.

When employing waterless bathing, ensure the wipes are appropriately warmed and that the patient’s skin is thoroughly cleansed and dried. Assess skin integrity regularly, as some individuals may experience sensitivity to certain wipe formulations.
Waterless bathing can be integrated into a comprehensive hygiene plan, complementing other aspects of patient care and promoting overall well-being.
Adapting for Patients with Limited Mobility
Patients with limited mobility require a modified bed bath approach, prioritizing their safety and comfort. Careful positioning is crucial; utilize pillows and support devices to maintain proper body alignment and prevent strain.
Assess the patient’s range of motion and ability to assist with the procedure, adapting techniques accordingly. For individuals with contractures or paralysis, gentle movements and thorough cleansing of skin folds are essential to prevent pressure ulcers;
Communication is key; explain each step of the process and encourage the patient to voice any discomfort or concerns. Break down the bath into manageable segments, allowing for rest periods as needed.

Consider utilizing assistive devices, such as long-handled sponges, to reach difficult areas. Always prioritize the patient’s dignity and respect their limitations throughout the bed bath procedure.
Post-Bath Care and Documentation
Following the bed bath, ensure the patient is comfortably dressed and positioned, prioritizing their safety.
Thoroughly clean and store all equipment, and meticulously document observations and any unusual findings.
Dressing and Positioning the Patient
After completing the bed bath, carefully dress the patient in clean clothing, ensuring comfort and warmth. Assist them to a position of comfort and safety, considering any limitations in mobility or specific medical needs.
Pay close attention to pressure points and utilize pillows or positioning devices to prevent skin breakdown, especially for patients with prolonged bed rest.
Encourage the patient to participate in positioning themselves as much as possible, promoting independence and a sense of control.
Observe the patient’s skin for any signs of redness, irritation, or breakdown during and after positioning. Document the patient’s response to the bath and positioning, including any discomfort or changes in skin condition.
Ensure the call bell is within easy reach, allowing the patient to request assistance as needed. Prioritize maintaining the patient’s dignity and respect throughout the entire process.
Equipment Cleaning and Storage
Following the bed bath, meticulous equipment cleaning and proper storage are crucial to prevent healthcare-associated infections. Remove gloves and dispose of them appropriately according to facility protocols.
Thoroughly wash washbasins, towels, and any reusable equipment with soap and water, ensuring all traces of bodily fluids are removed. Disinfect equipment as per facility guidelines, particularly items used for patients with known infections.
Rinse all cleaned items thoroughly and allow them to air dry completely before storing. Store clean linens and equipment in a designated clean storage area, separate from soiled items.
Inspect equipment for any damage or wear and tear, and report any issues to the appropriate personnel. Always wash your hands after handling soiled equipment or linens.
Proper equipment management contributes significantly to a safe and hygienic patient care environment.